Sourdough success: part two
Article and photo by Lisa Crockett
I spent my childhood years living just outside of San Francisco. Sourdough bread is a symbol of that city, and I think it must be somehow encoded in my DNA that it is the standard by which all other breads are to be judged. San Francisco sourdough is the stuff of legend, the sustenance that hungry gold miners needed in 1849 as they panned the rivers for treasure, a wonder food fueled by unique wild yeast native to the area. It’s been nearly three decades since I lived in California, but I do go back to visit often, and when I do, I make a point of eating fresh bread at every opportunity. I’ve even been known to hand-carry a loaf or two back on the plane to tuck into the freezer to extend the deliciousness.
Regular readers of this column know that last month I embarked on a quest to up my intake of this childhood favorite food by making my own sourdough bread. While I waited for my starter to mature, I explored the myriad of ways to use the excess starter that is part of the process (including a really delicious scone recipe shared in the August issue of The Connection). Starter is supposed to take about seven days to mature, but mine took seven weeks. Seven weeks of discarding and feeding. Seven weeks of waffles, and pancakes, and crackers using the discard as an ingredient (and more than a few discards in the compost pile).
On the 49th day after I mixed up my starter, I held my breath as I deposited a teaspoon of starter into a glass of water to see if it would float, a commonly used test of its ability to make bread rise. When the mixture stayed on the surface of the water like a lily pad on a pond, I nearly cried tears of joy.
But a starter, of course, is just that – a start. After the starter is mature, there are many options. Dough that is left to rise on the countertop at room temperature or at a slower rate in the cool of the fridge. Bread made with bread flour, all-purpose flour or whole-wheat flour. Moisture is important too – steam helps the bread rise rapidly (or “bloom” in bread-baking parlance), so sourdough is often baked in a Dutch oven with a lid to trap the moisture in the first part of the bake. The lid is then removed to allow the crust to become crusty and crispy. Alternatively, some recipes call for spraying the surface of the bread with water when it goes into the oven. Temperature adjustments during baking vary from baker to baker, with some recipes calling for a preheated Dutch oven while others call for allowing the bread to do its final rise in a cold vessel.
I decided that if I was going to do this, it couldn’t be halfhearted, so I consulted the website www.thekitchn.com, a site I use regularly for everything from chocolate chip cookies to marinara sauce. Their instructions for sourdough bread were exhaustive, and I read through them several times. Then, on a Friday night, I set to work, first creating a leaven, then a dough that needed tending and stretching at specific intervals. I used a kitchen timer and a kitchen scale for precision at various points. At last, roughly 36 hours after I began, I completed the twenty-fifth and final step of the recipe, and I pulled a beautiful, crusty loaf from the oven. It was gorgeously brown and beautifully fragrant, with an aroma that instantly transported me to a foggy childhood day, happily eating warm bread and butter while looking out of the kitchen window.

The bread was good, but not quite perfect. The crumb was a bit close, and toward the center it was dense almost to the point of being gummy. After posting a photo of my first loaf to my social media accounts, several of my bread-baking friends shared their favorite tips and tricks – a teaspoon of sugar in the dough to feed the yeast, perhaps, or possibly a dusting of baking soda in the final rise. My starter is still young, so even after nearly two months, it will likely need to further mature before I get the results I want. Clearly, it will be an ongoing process as I pursue a perfect loaf. I have enjoyed (and will continue to enjoy) this process that demands that I slow down and really pay attention to how something as basic as a loaf of bread is made.
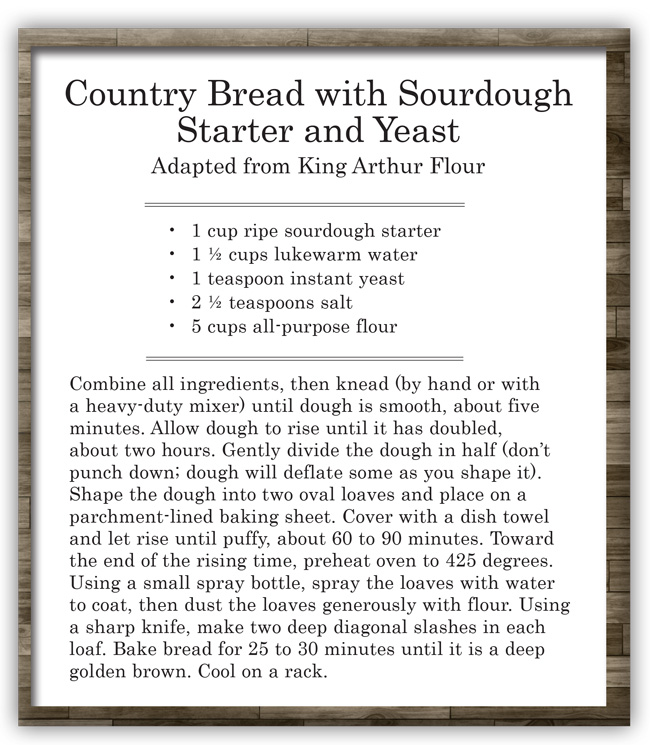
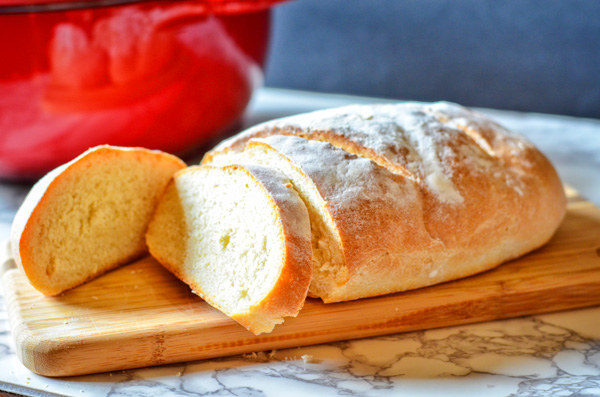
And yet, with all this appreciation of the process, I also want something I can eat and enjoy right now. So, while I continue to hone my all-natural techniques for bread baking, I’ll also make the recipe I’m sharing here, which augments my sourdough starter with a bit of commercially-available yeast. This bread is soft and has a less aggressive sourdough flavor than a true sourdough, but is delicious all the same. It’s similar to an Italian bread and is great for sopping up pasta sauce on spaghetti night. Best of all, it’s ready in less than four hours, so even if I have weekend plans, I can still make this bread. No matter how I make it, bread is complex in its simplicity, like so many other aspects of life, which is precisely what makes it so interesting and enjoyable.
